
A UV printer for electronic enclosures is a practical machine choice for product teams, electronics accessory brands, control-device builders, repair shops, and small manufacturers that need clean decoration on hard product shells. The work is not only about printing a logo. A good enclosure print may include icons, port labels, warning marks, QR codes, serial numbers, product names, white ink underlays, and small alignment details that make the finished device look manufactured instead of improvised.
This guide focuses on electronic enclosures, device housings, plastic shells, aluminum project boxes, power-bank cases, smart-device covers, controller boxes, and small industrial products. It supports the main UV printer, visual positioning UV printer, and UV printer 9060 pages by answering a specific commercial use case that can rank more easily than a broad UV printer article.
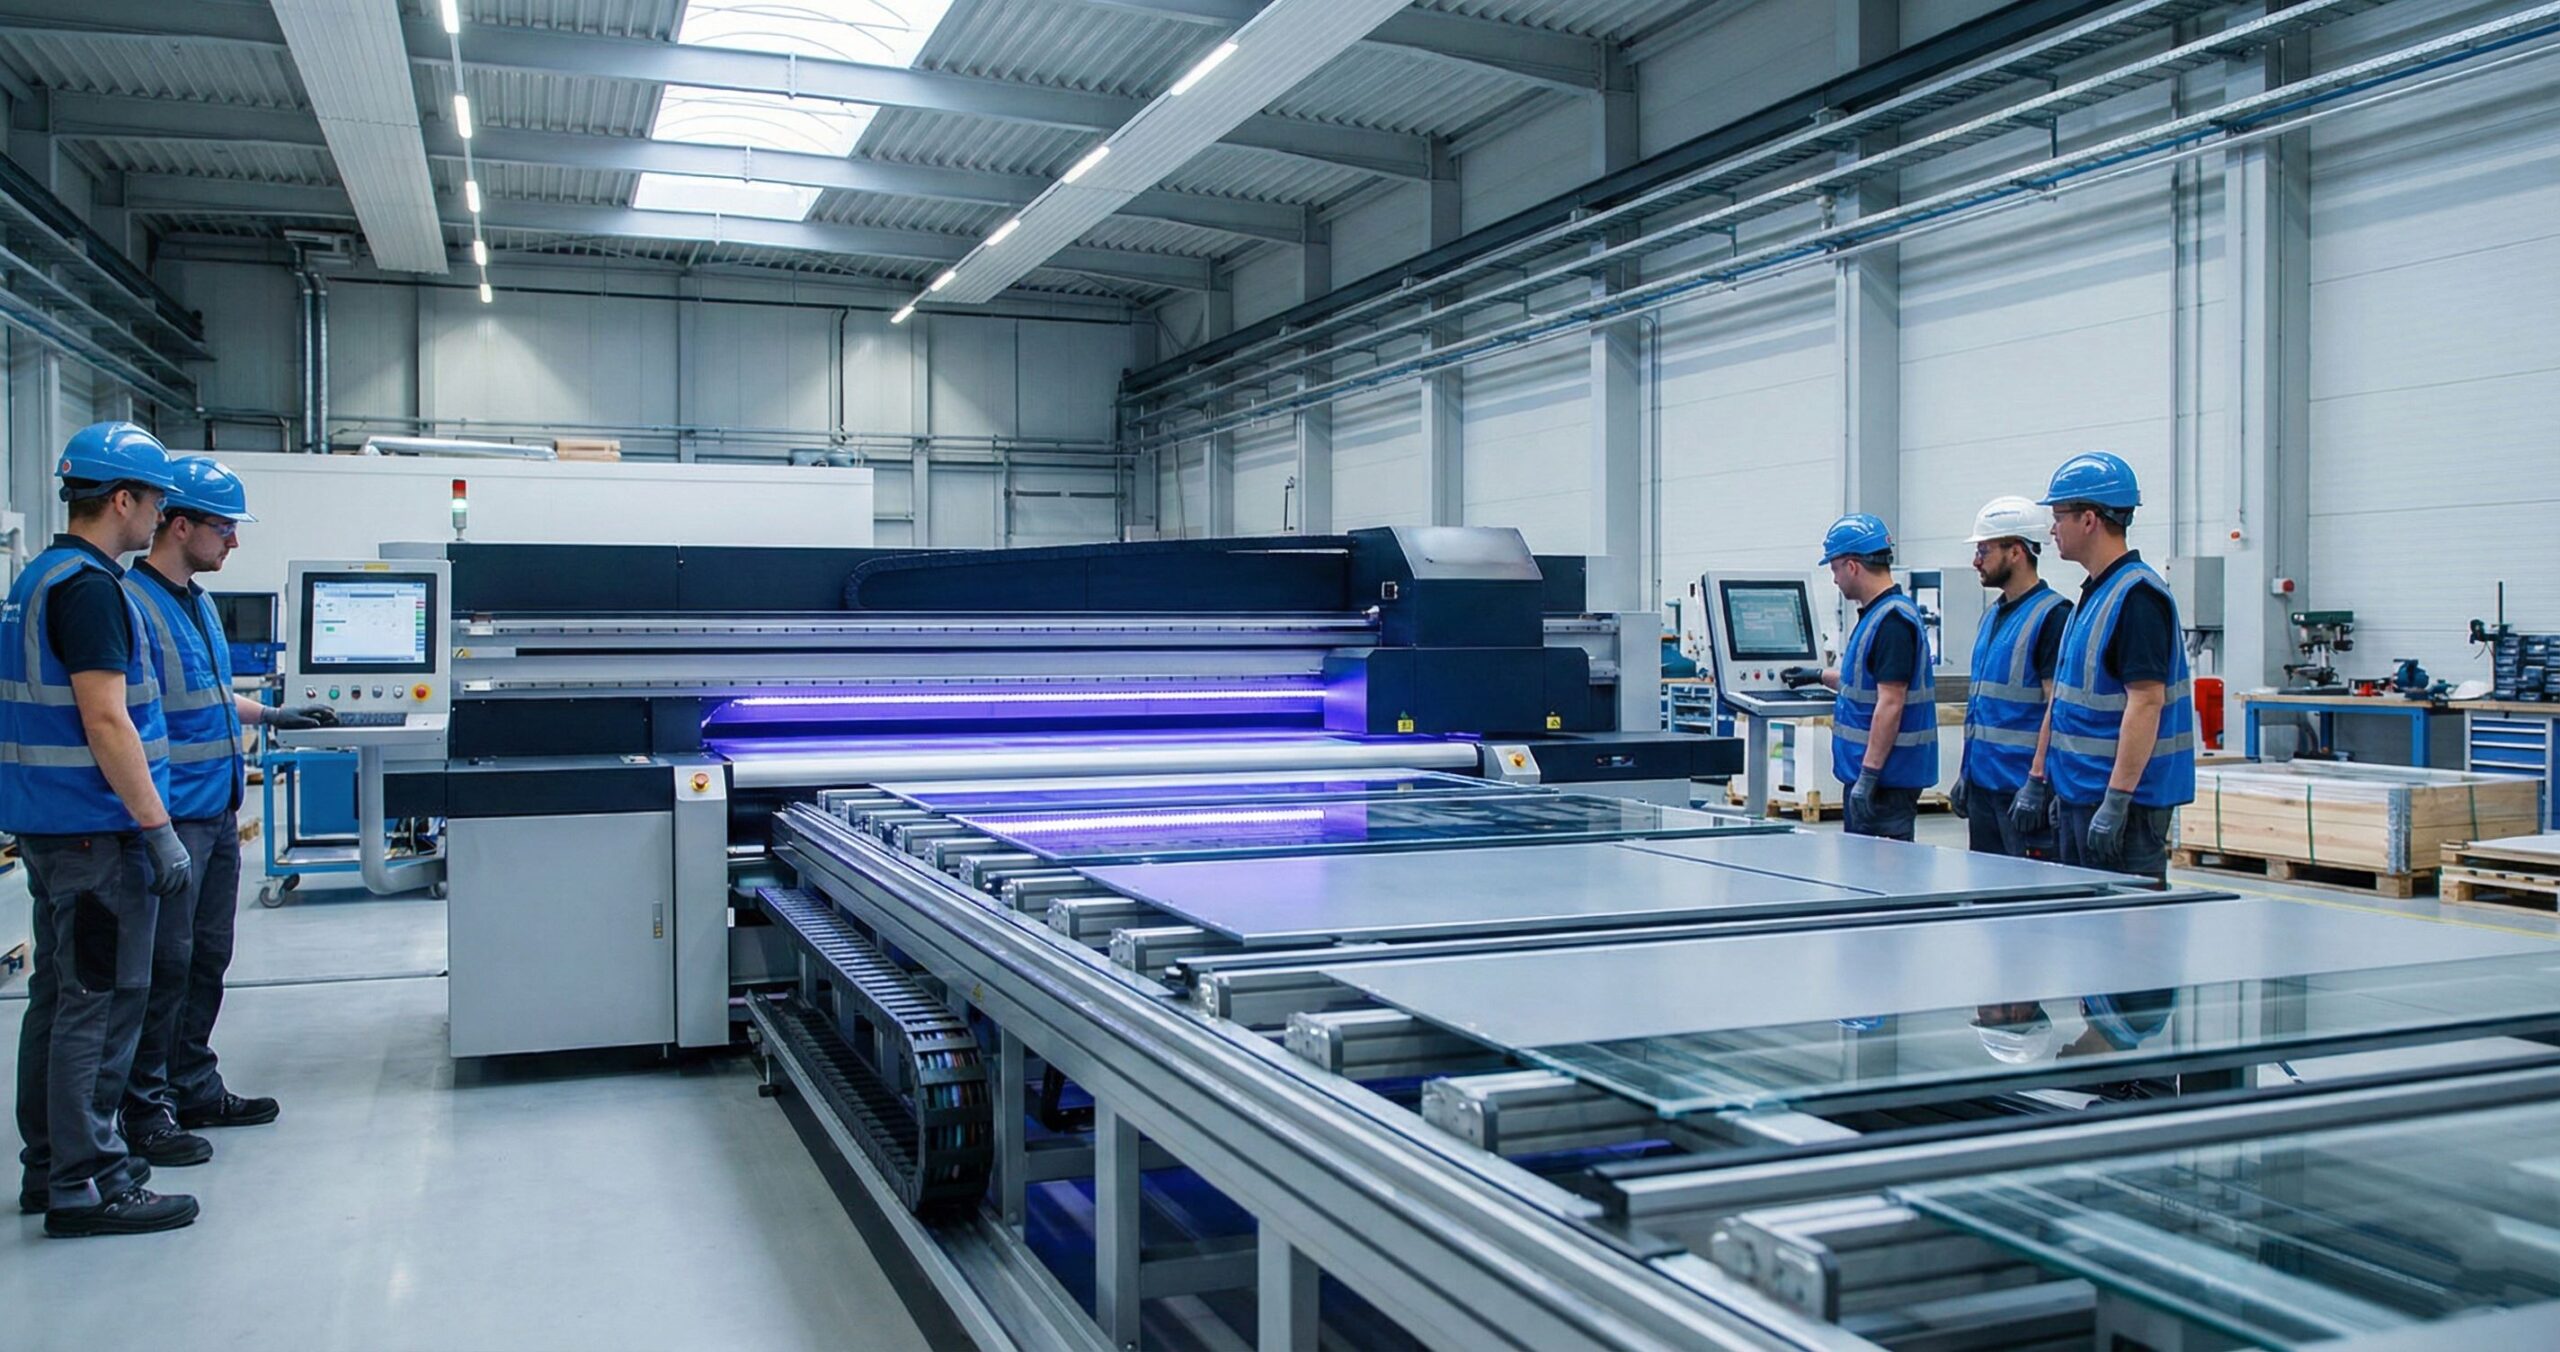
Why Electronic Enclosures Are a Strong UV Printing Niche
Electronics brands and product developers often move through many short runs before a final design is stable. A startup may need 20 sample housings for testing, 100 branded shells for a pilot batch, and 500 units after the first customer feedback. Traditional decoration methods can be slow when artwork changes frequently. Screen printing needs setup. Pad printing can be strong for simple logos, but it has limits with gradients and variable data. Stickers can look temporary on premium products.
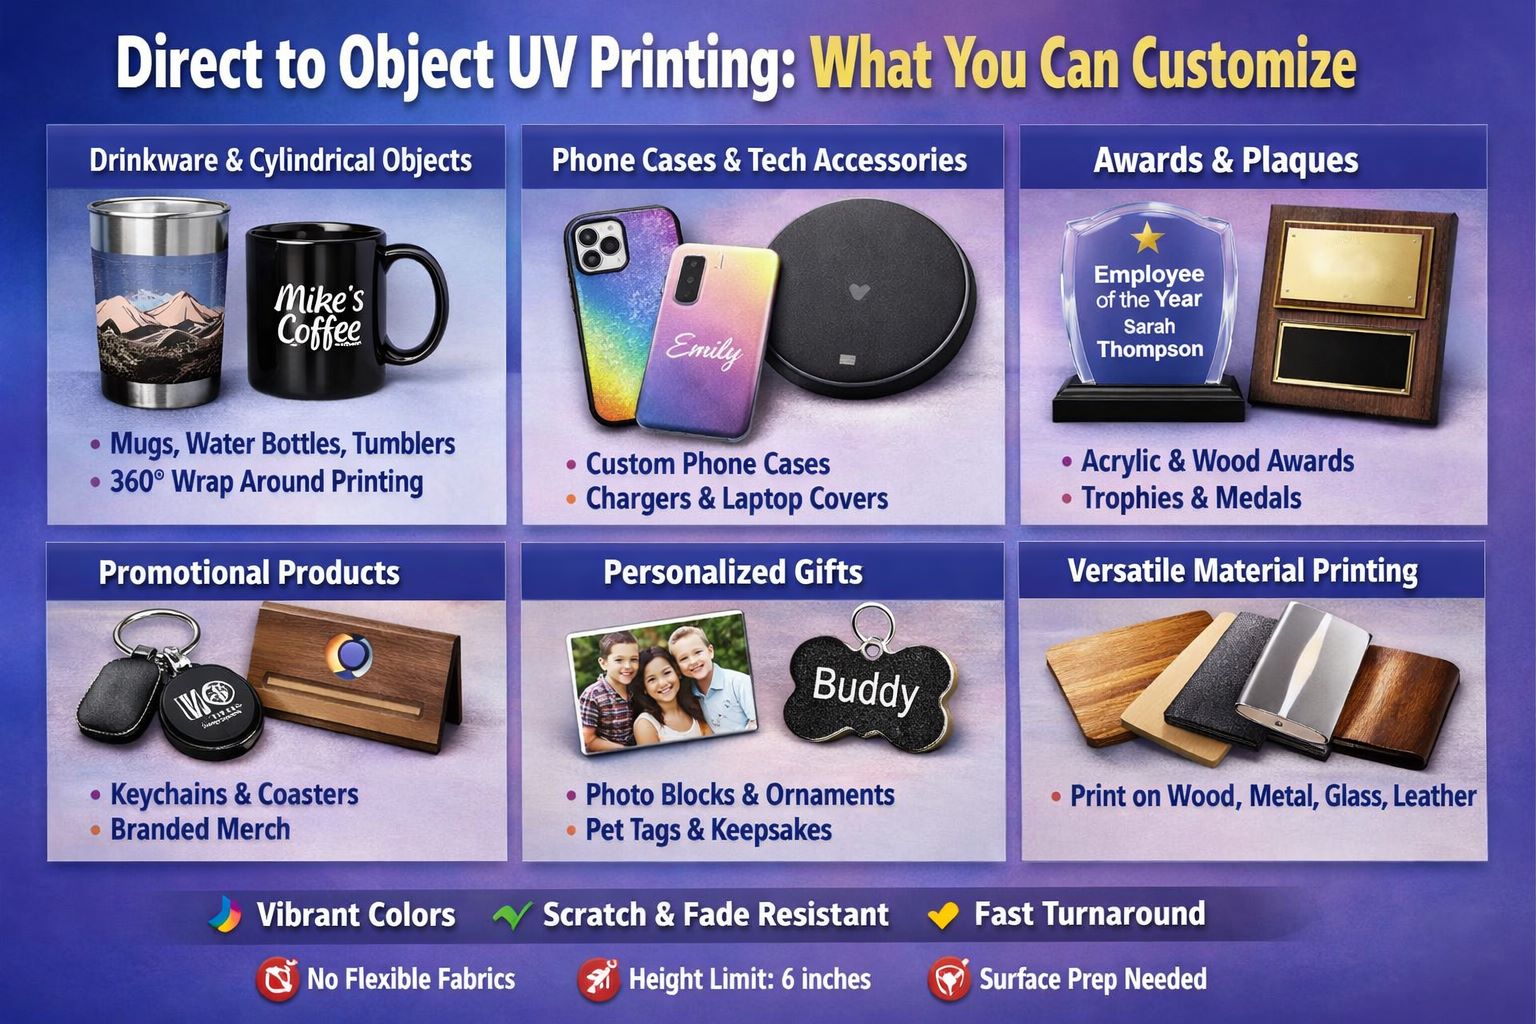
Direct UV printing solves a different problem. It lets the shop print directly on rigid plastic, coated aluminum, acrylic, ABS-style housings, device lids, small panels, and accessory shells. That makes it useful for prototype branding, short-run manufacturing, product personalization, and replacement part marking. When the workflow is built properly, one printer can support product samples, small commercial batches, and custom electronics accessories.
Best Product Types to Target First
- Plastic electronics project boxes and small device enclosures.
- Power-bank shells, charging dock covers, and tech accessories.
- Router, controller, sensor, and IoT-device housings.
- Aluminum instrument boxes, switch boxes, and component covers.
- Phone cases, earbud cases, badges, and small promotional tech products.
- QR-code service plates, serial-code panels, and model-number labels.
This topic also creates a natural internal path to the applications page because electronics work is a clear B2B use case, not a generic decoration example.
Materials and Surface Behavior
| Material | Common Product | Printing Note |
|---|---|---|
| ABS or hard plastic | Device shells, controller housings, power-bank cases | Good for short-run product decoration, but test adhesion and surface treatment before volume work. |
| Polycarbonate | Protective covers, interface windows, clear housings | Useful for clear or tinted components where white ink may be needed for opacity. |
| Powder-coated aluminum | Instrument boxes, electrical enclosures, equipment covers | Clean carefully and compare with the UV printing on metal workflow. |
| Anodized aluminum | Premium product plates and control housings | Adhesion and finish should be tested. See the anodized aluminum guide for deeper notes. |
| Acrylic or PMMA | Display covers, prototype windows, branded panels | Static and dust control matter because small particles show clearly on glossy parts. |
Material testing is where many enclosure jobs are won or lost. Two products that both look like black plastic may have different coatings, release agents, or surface energy. The safest workflow is to test the exact part, cleaner, print mode, and curing settings before accepting a larger job. The broader UV substrate compatibility guide can help with early material decisions.
White Ink for Dark Housings and Clear Covers
Electronic enclosures are often black, gray, translucent, or brushed metal. On those surfaces, CMYK alone may look weak. White ink creates the base that makes colored logos, warning triangles, port names, and small icons readable. It can also be used by itself for white legends on dark plastic, which is common on device housings and technical accessories.
The goal is clean opacity, not heavy buildup. Too much white ink can make small text look soft or raised in a way the customer did not expect. For enclosure printing, build test modes such as CMYK only, white underbase plus color, white-only legends, and spot varnish on logo areas. The existing white ink guide gives useful background for buyers who are comparing printers and maintenance requirements.
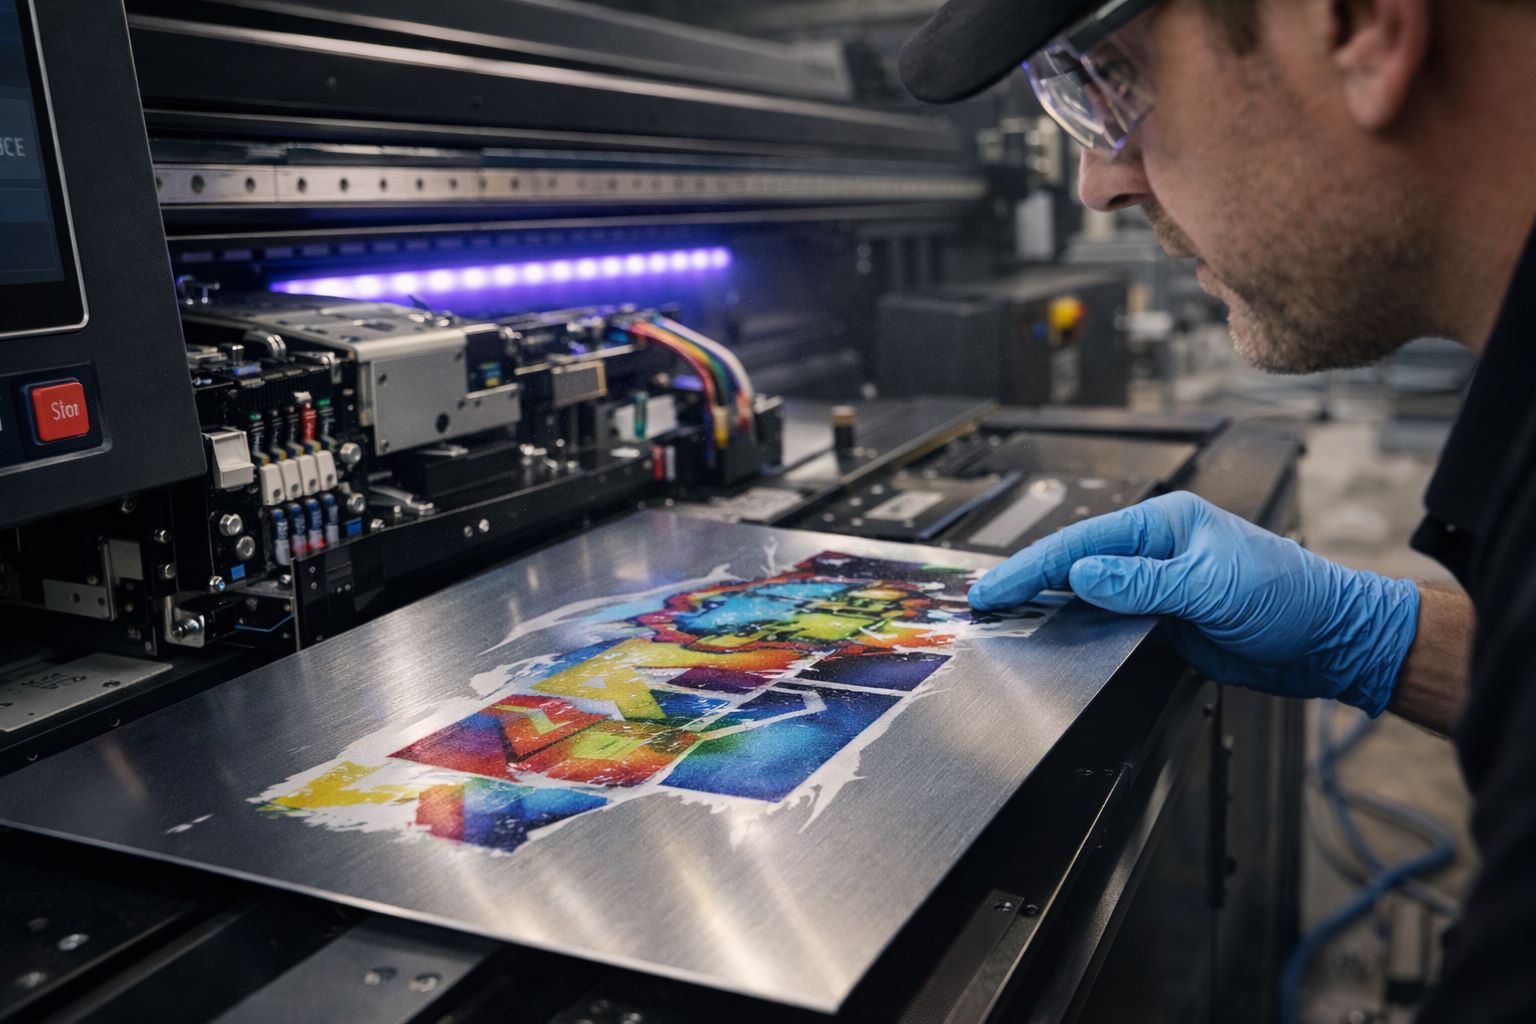
Artwork Rules for Device Housings
Electronics artwork has less room for error than a flat sign. A logo may sit between ports. A QR code may need to scan after the device is assembled. Icons may need to align with buttons, LEDs, USB ports, switches, and seams. Before printing, the designer should confirm the actual part dimensions and not rely only on a catalog drawing.
Prepress Checklist
- Measure the real part, including curves, bevels, screw points, seams, and port openings.
- Create separate layers for color, white ink, varnish, and variable serial data.
- Keep tiny text large enough for the print mode and viewing distance.
- Test QR codes and barcodes after printing, not only in the design software.
- Keep artwork away from edges where the part may taper or curve sharply.
- Use repeatable names for templates so reorders do not become fresh setup jobs.
The client file preparation guide is useful when customers send mixed files from CAD, Canva, Illustrator, screenshots, or old vendor templates.
Jigs, Templates, and Visual Positioning
Jigs are the quiet profit driver in enclosure printing. If a shop needs to print 100 identical power-bank shells, a simple jig can place every part in the same position. If the work is mixed, irregular, or low quantity, a camera-based approach can be faster than building a dedicated jig for every part. That is where a visual positioning UV printer can support the workflow.
For electronic housings, the right alignment method depends on the order pattern. Repeat batches deserve a stable jig. One-off samples and pre-cut covers may benefit from visual positioning. Very small accessories need a tray or nest so they do not move during printing. The practical question is not only whether the printer can print the item. The question is whether the operator can place the item accurately enough, repeatedly enough, and fast enough to protect margin.
Direct UV vs Stickers, Pad Printing, and Laser Marking
| Method | Best Fit | Where It Struggles |
|---|---|---|
| Direct UV printing | Full-color graphics, short runs, prototypes, variable data, hard shells | Needs adhesion testing and stable part placement. |
| Pad printing | Simple spot logos on curved or uneven products | Limited graphics and more setup for small changing batches. |
| Sticker or label | Low-cost labels and temporary packaging | Can look less premium on finished electronic products. |
| Laser marking | Durable monochrome marks on compatible metal or plastic | Limited color branding and surface-dependent results. |
| UV DTF transfer | Hard-to-load products and premium decals | Compare through the UV printer vs UV DTF printer guide. |
A shop does not need to attack every method. The sales message should be precise: direct UV is strongest when the customer wants full-color branding, short-run flexibility, direct-to-object decoration, and a clean manufactured look on hard product shells.
When a UV Printer 9060 Makes Sense
Many enclosure and device-housing jobs fit well on a mid-size flatbed. A UV printer 9060 can handle small trays, multiple device shells, flat aluminum boxes, accessory batches, and sample panels without the floor space of a much larger machine. The bed size also allows the operator to build multi-part fixtures that hold several housings in one run.
For buyers, the next step is to compare bed size, part height, white ink system, print mode, RIP workflow, and service support. The UV printer 9060 buying guide can support that decision after this use-case article captures the enclosure-specific search intent.
Quality Control for Electronic Enclosure Printing
Quality control should be practical and repeatable. Start with a first-article sample. Check alignment to ports, holes, buttons, LEDs, and seams. Confirm that small text is readable. Scan QR codes. Rub-test the print after curing. Check whether the surface feels tacky, soft, brittle, or overly raised. If the product is handled often, include a basic abrasion test.
For B2B orders, save a reference sample or a high-resolution photo of the approved part. Record material, cleaner, jig, bed location, print mode, white ink setting, and operator notes. This turns the next batch into a repeatable production job rather than another experiment.
Production Workflow
- Inspect the enclosure and note material, coating, curve, and printing area.
- Clean the part and test adhesion on one sample.
- Build a template or jig based on the actual product, not only the drawing.
- Prepare artwork layers for CMYK, white, varnish, icons, and serial data.
- Print a proof and check alignment, QR codes, readability, and adhesion.
- Save the approved settings and print the batch in controlled groups.
- Inspect every part before packing, especially glossy black and metal surfaces.
- Use separators or soft packaging so finished housings do not rub during shipping.
Pricing the Work Correctly
Electronic enclosure jobs should not be priced like simple flat stickers. The quote should include artwork review, white ink setup, jig time, variable data handling, material testing, cleaning, proofing, inspection, and packaging. A one-time prototype housing may be expensive per unit because setup is the main cost. A repeat batch should become more efficient because the fixture and settings are already known.
It helps to sell three clear levels: prototype marking, pilot batch production, and repeat manufacturing support. Prototype marking is for validation and photos. Pilot batch production is for early customers or investor samples. Repeat manufacturing support is for customers who will reorder the same enclosure with controlled artwork and settings. This makes the offer easier to understand and gives the shop a reason to keep production files organized.
Sales Questions Before Accepting an Enclosure Job
The intake conversation should be more detailed than a normal promotional print order. Ask whether the part is a prototype, a customer-facing product, a replacement component, or a production batch. Ask whether the housing will be touched daily, mounted outdoors, cleaned with chemicals, shipped in bulk, or assembled after printing. Those answers change the proofing standard and help the shop avoid promising the wrong level of durability.
It is also important to ask who owns the artwork. Electronics jobs often arrive with engineering drawings, low-resolution logos, old PDF labels, or artwork made for a different supplier. If the customer needs the printed mark to align with ports, buttons, LEDs, or a molded feature, request a real part or a precise drawing before quoting final production. This keeps the project professional and gives the operator a clear reason to charge for setup and proofing.
Sample Kit Ideas for Electronics Buyers
A small sample kit can turn this niche into a repeat sales channel. Include a black plastic housing with white ink, a brushed metal plate, a clear acrylic cover, a QR-code sample, a serial-code sample, and a small tech accessory with full-color branding. The goal is to show buyers how a UV printer for electronic enclosures handles contrast, small text, material difference, and alignment.
The sample kit should not be random. Label each sample with material, finish, and recommended use. A buyer comparing product decoration methods will understand the value much faster when they can hold a finished part instead of only seeing a printer specification sheet. These samples can also support the commercial UV printer buying guide because they show how machine selection connects to real production work.
How This Topic Supports Product Page Rankings
This article should be used as a support asset, not as a replacement for the commercial product pages. The main keyword cluster should point upward to the UV printer page for broad machine intent, to the UV printer 9060 page for mid-size flatbed buyers, and to the visual positioning UV printer page when the searcher has pre-cut or irregular product shells. That internal link pattern helps search engines understand which page should rank for each level of intent.
The anchor text should stay natural. Use phrases such as UV printer for product shells, UV printer 9060 for device housings, visual positioning UV printer for pre-cut enclosures, white ink for dark electronic housings, and RIP software for variable serial data. These anchors give context without looking forced. Over time, the article can also receive links from any product page sections that discuss electronics, small product manufacturing, serial labels, or custom hard-surface branding.
If Search Console later shows impressions for phone cases, power banks, IoT boxes, or control housings, this article can be expanded with short product-specific examples. That is the right kind of optimization because it follows actual search behavior instead of stuffing every possible electronics term into the first version.
Common Mistakes to Avoid
- Printing without a real part sample: drawings and supplier photos are not enough for final alignment.
- Ignoring release agents: new plastic parts may carry residue that hurts adhesion.
- Using too much white ink: heavy underbase can soften tiny text and technical icons.
- Underpricing fixture time: jigs and alignment are part of the job, not free extras.
- Skipping barcode tests: QR codes and serial codes should be scanned after printing.
- Packing parts face-to-face: finished housings need separators to prevent rubbing.
SEO Value of This Topic
Electronic enclosure printing is a useful long-tail topic because the searcher often has a real product problem. They may be choosing a UV printer, looking for a way to brand device housings, or comparing decoration methods for prototype electronics. That intent is more valuable than a broad informational visitor who only wants a definition of UV printing.
For the site, this article should help build topical authority around direct-to-object UV printing, industrial small-batch production, visual positioning, white ink, jigs, and material testing. Internal links should send commercial visitors to the UV printer, visual positioning UV printer, UV printer 9060, and machine comparison pages.
FAQ
Can a UV printer print on plastic electronic enclosures?
Yes. A UV printer can print on many hard plastic electronic enclosures, but the exact plastic, coating, cleaner, and adhesion behavior should be tested before a production batch.
Is white ink needed for black device housings?
Usually yes. White ink improves visibility for color logos, icons, warning marks, and technical labels on dark housings.
Which machine should a small manufacturer compare?
Start with the main UV printer page. For mid-size fixtures and small product batches, compare the UV printer 9060. If the parts are pre-cut or irregular, review the visual positioning UV printer option.
Final Recommendation
A UV printer for electronic enclosures is a strong rankable support topic because it connects product decoration, prototype workflow, white ink, jigs, and short-run manufacturing. Shops should focus on real material testing, controlled artwork, repeatable fixtures, and clean internal links to commercial printer pages. That gives buyers useful guidance and gives the site a stronger authority signal for industrial direct-to-object UV printing.