
A UV DTF printer can look simple from the outside: print on film, laminate, transfer, sell the finished product. In production, however, the machine behaves more like a small manufacturing line. Ink stability, film tension, varnish flow, white ink circulation, curing, lamination pressure, and shop environment all affect the final decal. When one part drifts, the problem often appears somewhere else: weak adhesion, cloudy clear film, banding, white specks, edge lifting, or customer complaints after handling.
This UV DTF printer maintenance schedule is written for print shops, gift businesses, packaging suppliers, and promotional product teams that want repeatable output from a UV DTF printer. It is not a generic cleaning checklist. It explains what to check daily, weekly, and monthly, why each task matters, and how to connect symptoms to the right maintenance action.
If you are comparing equipment, use this guide with the UV DTF printer with foil stamping workflow guide and the UV DTF applications guide. Together they help you evaluate not only what the machine can print, but also what it takes to keep production stable.
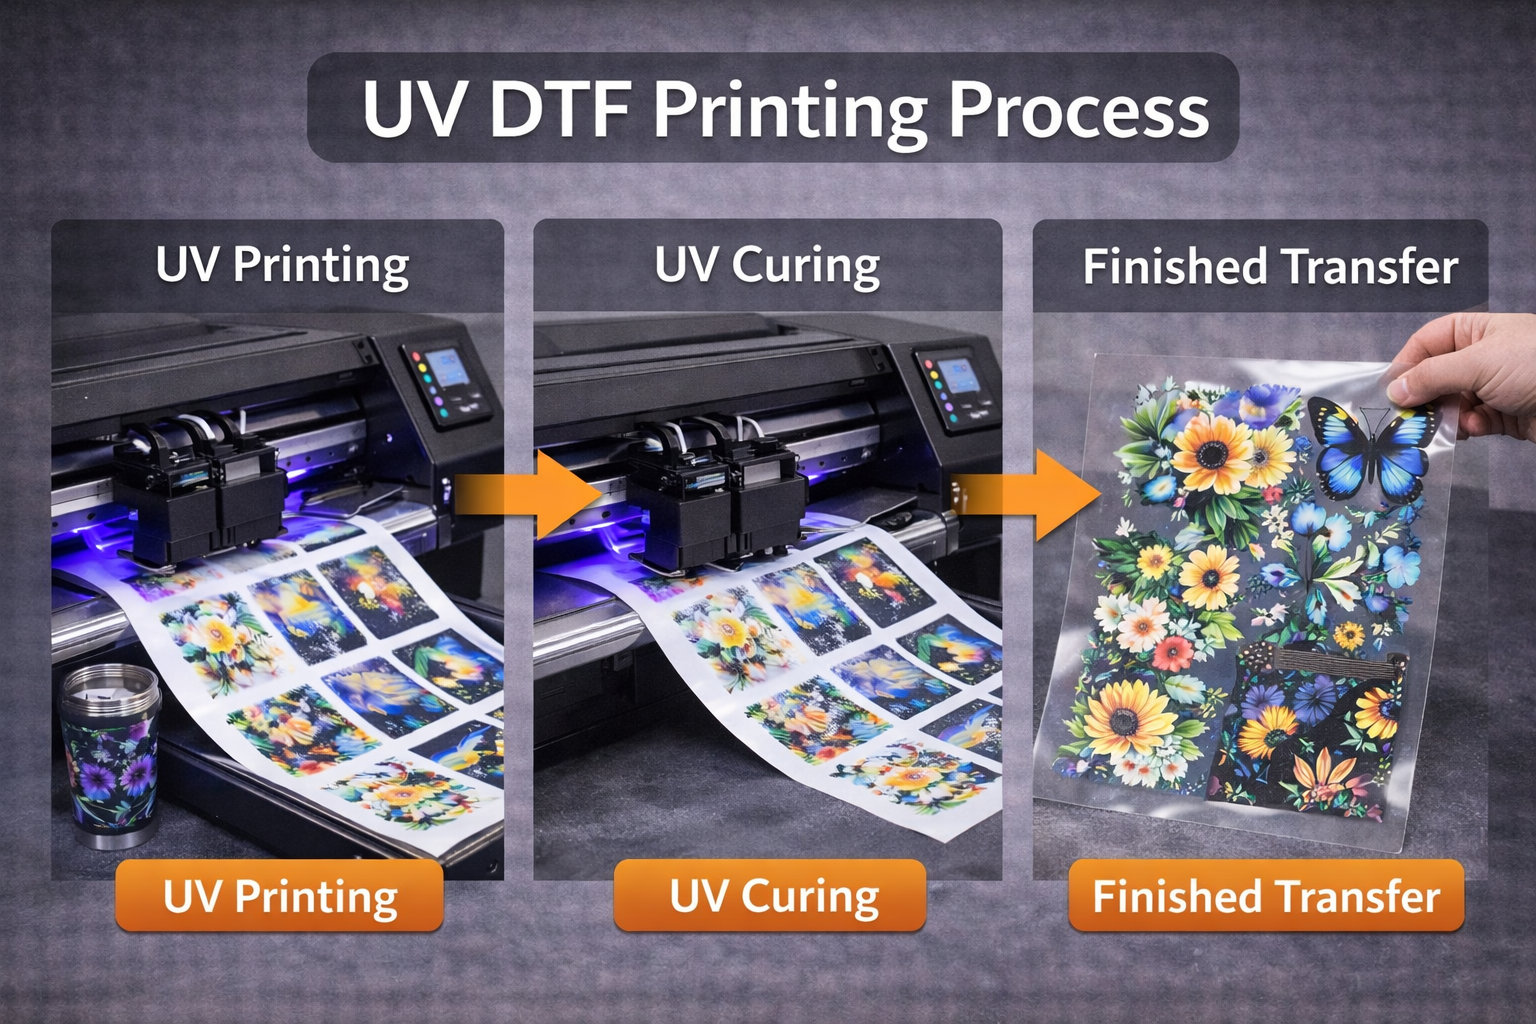
Why UV DTF Printer Maintenance Matters More Than Operators Expect
UV DTF printing combines several sensitive processes inside one workflow. UV ink must jet cleanly. White ink must stay suspended. Varnish must remain smooth. Film must track straight. UV curing must be strong enough for handling but not so aggressive that it makes the transfer brittle. Lamination must apply enough pressure without distorting the printed layer. A shop can lose money quickly if it only reacts after visible failures appear.
Good maintenance improves three business outcomes. First, it protects color and detail, which matters for labels, logos, cosmetics packaging, gift items, and small branded products. Second, it reduces waste because failed film, wasted adhesive film, and reprinted jobs add up. Third, it makes quoting easier because operators know how many usable sheets or rolls the machine can produce in a normal shift.
Daily Maintenance Checklist Before Production
The first 10 to 20 minutes of a shift should be treated as production insurance. Many shops skip these checks when orders are urgent, but that usually creates more delay later. The goal is to confirm that the machine, film, ink, and curing system are ready before valuable orders go through the printer.
1. Check the nozzle condition before printing orders
Run a nozzle test before production starts. Do not rely on yesterday’s output as proof that today’s printhead is ready. A UV DTF printer may sit overnight while ink viscosity, room temperature, and humidity shift. If the nozzle pattern shows gaps, perform the recommended cleaning cycle before loading customer artwork.
- Look for missing lines in CMYK channels.
- Pay special attention to white ink because settled pigment can create uneven opacity.
- Check varnish flow for smooth, complete coverage.
- Do not start production if the nozzle pattern is unstable across repeated tests.
A single weak channel can create rework across a full film sheet. For small logos, the defect may not be obvious until the transfer is applied, which makes the loss harder to catch early.
2. Confirm white ink circulation and agitation
White ink is heavier than process colors and requires more attention. If the printer has white ink circulation, confirm it is running normally. If manual agitation is part of the workflow, follow the supplier’s recommended method instead of shaking aggressively. The goal is even pigment suspension, not foam or contamination.
Weak white ink often appears as dull color on dark products, patchy opacity, or inconsistent raised texture. If the same design looks strong on one area of the film and weak on another, check white ink stability before adjusting artwork.
3. Inspect the film path and take-up tension
Film tracking affects registration, lamination, and transfer quality. Check that the film loads squarely, moves without wrinkles, and stays under consistent tension. Operators should look at the edges of the roll, the feed rollers, and the take-up path before starting a long run.
- Film should not drift left or right across the print zone.
- Roll edges should not rub or curl.
- Take-up tension should be firm but not so tight that it stretches the film.
- Keep dust, loose adhesive particles, and scraps away from the feed area.
4. Wipe exposed surfaces near the print path
UV DTF jobs often involve glossy film, adhesive film, and small transfer pieces. Dust is easy to ignore until it becomes trapped under the transfer layer. Use lint-free wipes on exposed surfaces near the print path. Do not use random cloth, tissue, or shop rags that shed fibers.
If dust appears as tiny raised dots after transfer, the problem may not be the ink or curing. It may be the work area, the film storage method, or the operator’s handling process.
5. Verify curing lamp status
UV curing must be consistent. A lamp that is dirty, weak, or overheating can change the surface feel of the print. Before production, confirm that the UV LED curing system starts normally and that the lens area is clean. If the machine records lamp hours, add that number to the maintenance log.
Under-cured output may feel tacky, transfer poorly, or lose durability. Overexposed or heat-stressed output can become brittle or harder to laminate cleanly. The correct cure setting depends on ink, film, speed, and product requirement.
Daily Maintenance After Production
End-of-day maintenance is just as important as startup checks. The goal is to leave the printer in a stable condition so the next shift does not begin with dried ink, dust, or adhesive contamination.
Clean around the capping and wiper system
The printhead maintenance station should be clean enough to seal and wipe properly. If ink builds up around the cap, wiper, or waste path, the system may not protect the printhead overnight. Follow the printer supplier’s cleaning instructions and use approved cleaning solution only.
Protect unused film and adhesive rolls
Film should be stored in a clean, dry area away from heat, direct sun, and dust. Keep rolls covered when not in use. A good film storage habit prevents many production defects that operators later blame on printer settings.
Record defects while they are fresh
Keep a simple log with the date, operator, material, artwork type, nozzle test result, and any defects seen during the shift. A maintenance log does not need to be complicated. The useful part is pattern recognition. If banding appears every Monday morning, that points to weekend idle time. If transfers fail only on one film batch, that points to material storage or supplier variation.
Weekly UV DTF Maintenance Schedule
Weekly maintenance should go deeper than daily cleaning but should not turn into a full machine teardown. The purpose is to catch wear, contamination, and calibration drift before they become downtime.
| Weekly task | What to check | Why it matters |
|---|---|---|
| Film feed inspection | Rollers, pinch pressure, edge tracking, take-up path | Prevents skew, wrinkles, and registration drift |
| Ink system review | Ink levels, white circulation, tube condition, waste bottle | Protects stable jetting and prevents overflow |
| Curing system cleaning | LED lens, lamp area, ventilation path | Keeps cure strength consistent |
| Print sample archive | Standard logo, fine text, solid color, varnish layer | Makes quality drift easier to spot |
| Software backup | RIP settings, ICC profiles, job presets | Protects repeat jobs and operator consistency |
Run a standard control print
Every week, print the same control file on the same film. Include small text, a solid black block, a color gradient, fine lines, white ink areas, and a varnish layer. Apply part of the transfer to a standard test product. Keep the sample with the date written on the back.
This gives the team a real-world reference. If a customer says the finish looks different from last month, you can compare archived samples instead of relying on memory.
Check lamination pressure and alignment
UV DTF failures often happen after printing, not during printing. If lamination pressure is uneven, the transfer may lift at the edge, trap air, or create cloudy patches. Check roller cleanliness, pressure consistency, and alignment. Operators should also confirm that adhesive film feeds smoothly and does not introduce dust.
Review RIP and artwork presets
Many UV DTF problems are caused by accidental preset changes. Review the RIP settings used for production jobs: resolution, pass count, ink limit, white layer, varnish layer, curing mode, and film profile. If multiple operators use the printer, lock or document approved presets.
For broader software workflow, connect this maintenance habit with the UV printer software guide and the UV printing file preparation guide.
Monthly Maintenance and Calibration
Monthly checks focus on long-term reliability. These tasks can be scheduled during a slow production window so the operator has time to inspect, clean, and document without pressure.
Inspect mechanical movement and wear points
Look for unusual noise, vibration, film feed inconsistency, loose screws, and worn rollers. A UV DTF printer that starts making new sounds should not be ignored. Mechanical drift can create registration issues that look like a file or RIP problem.
Review color consistency
Print a standard color chart or brand-color test file. Compare it with previous samples under consistent lighting. If color is drifting, check ink age, curing settings, printhead condition, and profile changes before editing customer files. Color correction should be controlled, not improvised on each job.
Audit waste and reprint percentage
Monthly maintenance should include business data. Count how much film, adhesive, and finished output was wasted because of printer issues, operator error, film storage problems, and customer file problems. This tells management whether maintenance is improving profit, not just machine appearance.
Common UV DTF Defects and What to Check First
Maintenance becomes easier when operators connect symptoms to likely causes. The table below gives a practical starting point.
| Symptom | First checks | Possible maintenance action |
|---|---|---|
| Banding or missing color | Nozzle test, ink level, printhead wipe | Clean printhead, check ink flow, verify RIP settings |
| Patchy white layer | White circulation, ink age, agitation routine | Stabilize white ink and retest opacity |
| Transfer edge lifting | Lamination pressure, surface cleaning, cure strength | Adjust lamination and verify product surface prep |
| Cloudy transfer film | Dust, humidity, lamination temperature or pressure | Improve storage and clean film path |
| Tacky finish | UV lamp condition, speed, cure settings | Clean curing area and retest exposure |

Shop Environment: The Hidden Maintenance Variable
A clean machine in a poor environment will still produce inconsistent output. Keep the UV DTF production area away from grinding dust, packaging debris, open windows, and direct airflow that blows particles across the film. Store film and adhesive rolls upright or as recommended by the supplier. Keep temperature and humidity reasonably stable, especially if the shop prints high-detail decals or premium packaging work.
Operators should also handle printed film with clean hands or gloves. Oil from fingers can affect transfer quality. A simple handling rule can prevent defects that look like ink or adhesive failure.
When Maintenance Signals It Is Time to Upgrade
Maintenance keeps a printer stable, but it cannot make an undersized machine fit a production volume it was never built for. If a shop is cleaning constantly because the printer is running beyond its comfortable duty cycle, upgrading may be more profitable than pushing the current setup harder.
Consider a higher-capacity UV DTF printer or related UV printer system if you see these patterns:
- Operators run overtime to finish standard orders.
- Rush orders force shortcuts in cleaning and quality checks.
- Film waste is rising even though maintenance is disciplined.
- The business needs foil stamping, premium effects, or more stable production speed.
- Customers are asking for repeat orders that exceed current capacity.
Recommended Maintenance Routine for Production Teams
A practical maintenance system should be visible and easy to follow. Place the daily checklist near the printer. Keep approved cleaning tools in one labeled area. Store film properly. Assign responsibility by shift. Review defects weekly. Archive test prints monthly. These habits make UV DTF printing more predictable and easier to scale.
The best shops do not wait for failure before they act. They treat maintenance as part of production, just like artwork preparation, material selection, and customer proofing. That is how a UV DTF printer becomes a reliable profit center instead of a machine that only works well on some days.
Spare Parts and Supplies to Keep on Hand
A UV DTF printer should not stop because the shop ran out of simple maintenance supplies. Keep a small inventory of approved cleaning solution, lint-free wipes, gloves, waste bottles, replacement wipers, caps, filters, and the film types used for daily production. Do not wait until a failure appears before ordering these items. Shipping delays can turn a small maintenance need into several days of lost production.
Consumables should be labeled by open date. UV inks, film, and adhesive materials should not sit open without tracking. If two operators use the same printer, the label should make it clear which bottle, roll, or cleaning product is currently approved for production. This prevents accidental mixing and makes troubleshooting easier.
Maintenance Rules for Idle Periods
Many UV DTF problems appear after the printer has been idle for a weekend, holiday, or slow sales period. If the machine will not run for several days, follow the supplier’s shutdown and storage routine. That may include extra cleaning, checking the cap seal, protecting the printhead, and confirming that ink channels are not left in a risky condition.
When production restarts, do not send customer work through the machine immediately. Run a nozzle check, print a control file, inspect the film, laminate a small sample, and transfer it to a test product. This short restart process catches problems before they reach paid jobs.
How to Train Operators on UV DTF Maintenance
Maintenance should not depend on one technician. Every operator should know the daily startup checklist, the end-of-day cleaning routine, the correct cleaning products, and the warning signs that require escalation. A simple printed checklist near the machine is often better than a long manual stored in a drawer.
Train operators to describe defects clearly. Instead of saying the print looks bad, they should identify banding, weak white ink, cloudy film, edge lifting, dust contamination, color shift, or tacky finish. Clear language helps the team choose the right fix faster.
FAQ
How often should a UV DTF printer be cleaned?
Basic checks should happen daily, especially nozzle tests, film path inspection, and surface cleaning around the print area. Deeper checks such as lamination pressure, curing system inspection, and control prints should be done weekly or monthly depending on production volume.
What causes UV DTF transfers to lift at the edges?
Common causes include weak surface cleaning, uneven lamination pressure, under-curing, poor film storage, or an adhesive film mismatch. Start by checking lamination pressure, product surface preparation, and curing strength before changing artwork.
Can maintenance improve UV DTF print durability?
Yes. Clean nozzles, stable white ink, correct curing, and controlled lamination all affect durability. Maintenance does not replace proper material testing, but it makes durability results more consistent from batch to batch.
If you want help choosing a UV DTF setup that matches your daily production volume, start with the MTuTech UV DTF printer page or request a machine recommendation through Get Instant Quote.