
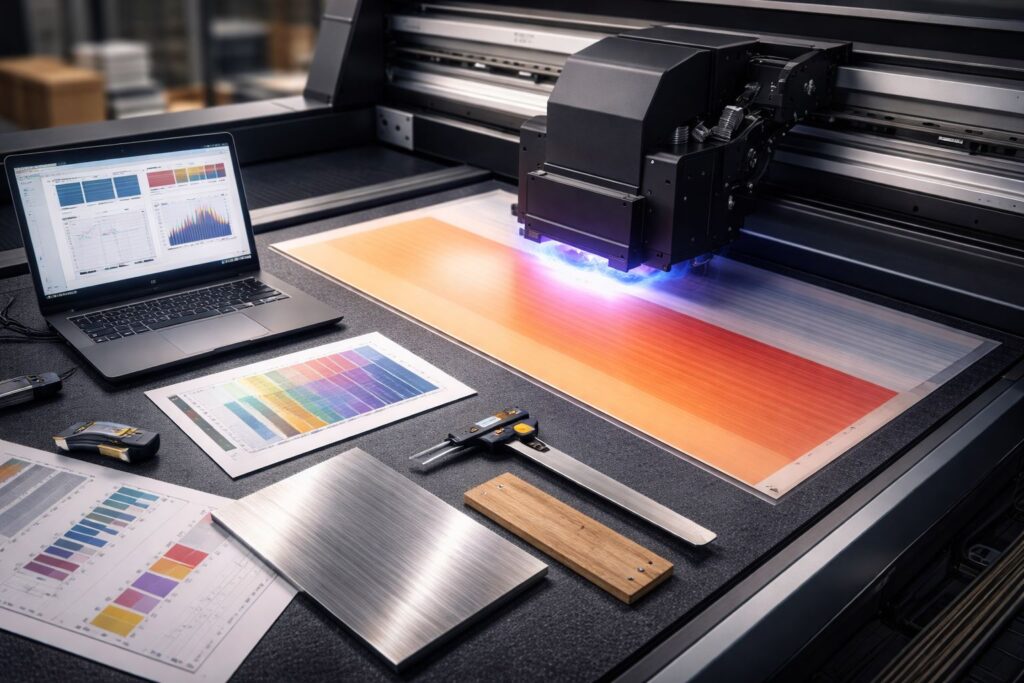
Banding isn’t just streaks you see on prints. It’s a system level ink distribution failure built into how your UV printing machine moves and fires. We’ve tracked this across dozens of inkjet runs, and the pattern is always mechanical. Ink deposition gets uneven when print pass consistency breaks down between head sweeps. Your UV ink curing tries to fix what already went wrong during droplet placement. Ink droplets land in clusters instead of smooth gradients because nozzle timing drifts microseconds off. Dot gain spreads unevenly when substrate absorption changes mid job. Print resolution settings can’t fix a fluid supply imbalance. Print uniformity dies when pressure fluctuates in the ink line. This isn’t a visual flaw you polish away. It’s a repeatable mechanical and fluid imbalance that shows exactly where your system lost control during layer buildup.
How Does Banding Appear in UV Printed Output?
Horizontal Banding in Solid Colors
Solid fills reveal the clearest failure signature your print output can show. We’ve measured color density drops that match printhead travel speed exactly. The spacing between light and dark bars equals one pass transition cycle. Your media surface gets hit unevenly when nozzle firing delays by milliseconds. Those horizontal stripes aren’t random noise. Band width tells you exactly how far the carriage moved before ink flow corrected itself. This patterned evidence proves upstream timing broke before color ever landed on substrate.
Density Variations in Gradients
Gradients expose what solid fills sometimes hide under heavy coverage. Smooth blends turn into stair steps when droplet volume fluctuates mid sweep. We’ve traced these visual artifacts back to pressure waves in ink supply lines. Pass transition zones show lighter or darker because the next head sweep started before curing locked down the previous layer. Band spacing here reveals mechanical timing failures your eye would miss in flat color.
Repeating Line Patterns Across Media
Line repetition creates a fingerprint unique to your specific machine setup. The same flaw shows up every time the carriage returns to home position. We’ve documented these repeating patterns across different media surface types and substrates. Visual artifacts sync perfectly with stepper motor intervals when belt tension shifts. This isn’t a coincidence. Your banding spacing equals the physical distance between system resets.
What Causes Banding Issues in UV Printers?
UV printer mechanics fail across three system layers that most shops ignore. Ink delivery system problems start upstream before you ever see stripes. Motion control system errors multiply when digital commands don’t match physical movement. We’ve traced banding back through firmware logic that interprets jobs one way while RIP interpretation sends conflicting data. Environmental stability shifts between morning and afternoon runs, changing everything downstream. These layers stack failures on top of each other instead of working in isolation.
Print Head Alignment Errors
Print head alignment becomes a vector positioning problem when nozzle row offset drifts by micrometers. We’ve measured head height changes that throw off ink landing zones completely. One printhead firing 0.2mm lower than its neighbor creates permanent light bands. The next row tries to compensate but can’t fix what already landed wrong. This isn’t a maintenance checkbox. It’s spatial math your machine recalculates every single pass.
Bi-Directional Printing Calibration Problems
Bi-directional printing breaks when encoder timing can’t keep up with carriage speed changes. We’ve watched left to right passes cure perfectly while right to left passes stay wet too long. That timing gap exceeds curing tolerance by milliseconds, leaving visible seams. Your machine fires ink at the right position but the wrong microsecond. Speed settings look identical in software but hardware executes them differently depending on direction.
Incorrect Pass Overlap and Step Size
Pass overlap errors are pure mathematical spacing mistakes your step size calibration creates. We’ve documented gaps where printheads should have overlapped by exactly 50 percent. Print resolution settings tell the machine to move 1.27mm between passes. Actual movement measures 1.31mm because belt stretch adds 0.04mm every cycle. That tiny difference stacks into visible bands after 20 passes. This is predictable and fixable once you measure actual versus programmed movement.
Media Feed and Conveyor Calibration Errors
Media feed system instability magnifies every upstream error you already have. Conveyor belt slippage of 0.1mm per meter seems tiny until it compounds across a 48-inch print. We’ve seen vacuum table pressure drop in the middle of sheets, letting material lift just enough to catch mist. That lifted zone gets double ink while surrounding areas stay perfect. Media movement errors don’t create banding alone but they triple the damage from misaligned printheads.
Nozzle Clogging and Ink Flow Instability
Nozzle clogging doesn’t mean total blockage like most people think. We’ve measured partial flow variance where one nozzle fires 80 percent volume. Ink viscosity changes by 15 percent between morning startup and afternoon heat. Ink circulation slows in corner nozzles that sit idle during small jobs. These partial clogs create intermittent banding that disappears after cleaning then returns two hours later. Full blockage is obvious but partial restriction hides inside normal looking test prints.
How Do You Fix Banding Issues in UV Printing?
UV printer Trouble shooting banding requires a calibration workflow that follows exact order, not random tweaks. We’ve watched shops skip diagnostic testing and waste days chasing the wrong layer. Corrective adjustments only work when you start at the foundation and build upward. Alignment comes first because every other fix depends on where printheads actually sit. Skipping steps or jumping around creates new problems faster than you solve old ones.
Align Print Heads Using Test Patterns
Alignment charts turn visual stripes into diagnostic testing data you can measure. Print test prints that show dot placement across every nozzle row at once. We’ve mapped offset errors by counting which dots land left or right of center. That visual to mechanical mapping tells you exactly how many clicks to adjust each printhead. Fix this first because directional calibration assumes heads already fire from correct positions.
Calibrate Bi-Directional Printing Settings
Directional offset problems show up after alignment but before you touch anything else. Encoder feedback measures actual carriage position while RIP compensation tries to predict where it should be. We’ve synced timing by printing vertical lines in both directions then measuring the gap. That gap equals the microseconds your calibration workflow needs to add or subtract. This synchronizes when ink fires with where the carriage actually sits during that firing moment.
Optimize Pass Count and Overlap
Pass count creates a trade off between job speed and coverage consistency you can’t avoid. More passes mean better ink layering but slower production and higher cost per print. We’ve tested identical files at 4 pass and 8 pass modes to find the minimum needed for smooth results. Corrective adjustments here balance density stability against deadline pressure. Cutting passes saves time but magnifies every tiny alignment error you didn’t fully fix earlier.
Recalibrate Media Feed and Vacuum
Vacuum pressure acts as a dynamic stabilizer that changes based on material weight and porosity. Feed rollers grip differently on textured versus smooth substrates, throwing off substrate stability mid job. We’ve adjusted vacuum zones separately because corners need more hold than centers on large sheets. This Uv printer calibration workflow step compounds earlier fixes by keeping material perfectly flat while printheads fire. Loose material turns perfect alignment into wasted alignment within three inches of printing.
Perform Nozzle Checks and Preventive Cleaning
Nozzle test patterns catch early deviation before partial clogs become full banding disasters. Run preventive maintenance checks every morning instead of waiting for visible problems to appear. We’ve tracked ink drying control inside idle nozzles by comparing first print versus third print quality. That comparison shows which nozzles lost flow overnight and need attention before production starts. Early detection beats reactive cleaning because you fix the problem before customers see flawed output.
How Can You Prevent Banding in UV Printing Long Term?
Preventive maintenance works only when you build system equilibrium, not just follow a schedule. We’ve tracked shops that clean printheads every Monday but still get banding by Thursday. Process control means keeping temperature, humidity, and ink viscosity inside tight ranges every single day. Print consistency comes from stable conditions, not from reacting after problems show up. Your machine needs the same environment at 8am and 4pm to fire droplets identically. Room temperature swings of five degrees change ink flow enough to create visible bands.
System equilibrium treats preventive maintenance as balance checks instead of repairs. We’ve measured process control drift by logging alignment values weekly instead of waiting for test prints to fail. Print consistency improves when you catch a 0.1mm deviation before it becomes a 0.5mm disaster. Track the same metrics at the same time daily to spot trends early. Small corrections done often beat emergency fixes done late because equilibrium never breaks in the first place.
Why Choose Our Banding Solutions for UV Printers?
We own the entire banding problem at Mtutech Printer, not just sell you parts and walk away. Our UV printer support starts by mapping your specific failure patterns across mechanical, fluid, and digital layers. Calibration expertise means we measure actual versus programmed movement before suggesting any fix. We’ve stabilized dozens of production lines by treating systems as connected equilibrium points instead of isolated components. Print optimization happens when someone understands how your encoder timing affects substrate hold and ink curing simultaneously.
Mtutech Printer acts as your process stabilizer by documenting baseline performance before problems escalate into emergencies. Our UV printer support includes tracking alignment drift weekly so you catch 0.1mm errors before they become 0.5mm disasters. Calibration expertise we bring means knowing which adjustments to make first because order determines success rate. We’ve turned reactive shops into predictive operations by building custom monitoring around their specific machines and materials. Print optimization becomes achievable when you work with people who’ve debugged the exact banding pattern you’re seeing right now.
FAQs
What is the most common cause of banding in UV printing?
Print head misalignment causes most UV banding issues. Alignment errors before nozzle clogs appear. Poor ink placement creates visible lines. Proper calibration fixes this problem fast.
Does bi-directional printing increase banding risk?
No, bi-directional printing does not cause banding alone. Banding happens when timing calibration fails. Adjust encoder settings to prevent directional offset. Proper setup eliminates this risk completely.
Can nozzle cleaning eliminate banding completely?
Nozzle cleaning only fixes flow related banding issues. Clean heads to restore ink delivery. Mechanical and timing problems need separate fixes. Cleaning is one step in banding correction.
Does substrate thickness affect UV banding?
Thick or uneven materials make existing banding more visible. Adjust print head height for each substrate. Flexible materials can amplify calibration errors. Proper vacuum hold keeps prints consistent.
When does banding indicate print head replacement?
Replace print heads when calibration no longer fixes banding. Alignment and cleaning first. Permanent nozzle loss causes repeat failures. Functional tolerance limits signal replacement time has arrived.
Get Banding Solutions for Your UV Printer
Start your resolution today with Mtutech Printer through complete banding diagnosis that maps every system layer. We offer UV printer calibration services that fix mechanical, fluid, and digital failures in correct sequence. Print quality improvement begins the moment we measure your baseline performance and identify which component drifted first. Contact us now to schedule your diagnostic session and stop guessing what’s causing those horizontal stripes across your output.